While each project is unique, every project undergoes a similar railing design process. During the quoting process, you helped us understand the general scope of the project. Once we start the design process, we get into the fine details.
What We Will Need From You: Job Details
- Desired style of railing or stairs: You may have selected from one of our standard cable railing styles or you may have some ideas of your own. Customers will send us a photo of a similar project that they have seen online or they might have a hand-sketched idea that needs developing. Turning your ideas into reality is one of the strong points of our cable railing design process.
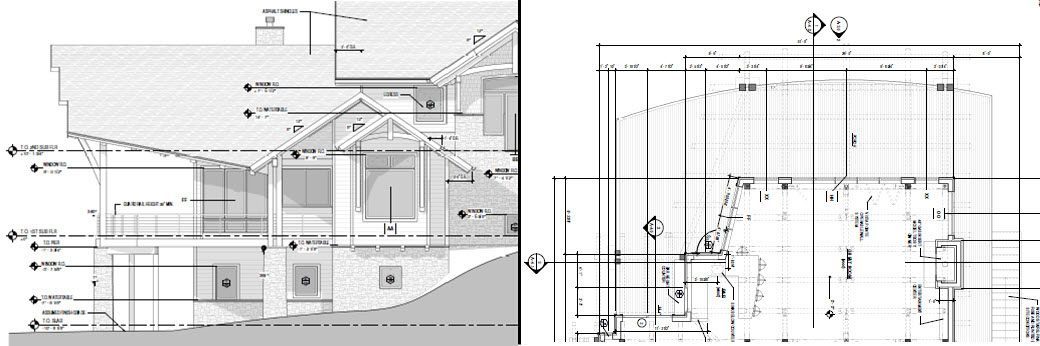
- Dimensions of the project: Commercial and residential projects have sets of detailed architectural drawings. We also receive hand sketches. We can work with what you have and help you get us the information we need.

Typical architectural drawings
On larger projects, we can perform a site visit/laser scan of the site to ensure the final product is a perfect fit.
- Job site photos: Photos can help us understand the job site. Photos help us see tricky situations that need some creative thinking to resolve. You can e-mail photos or text them to us.
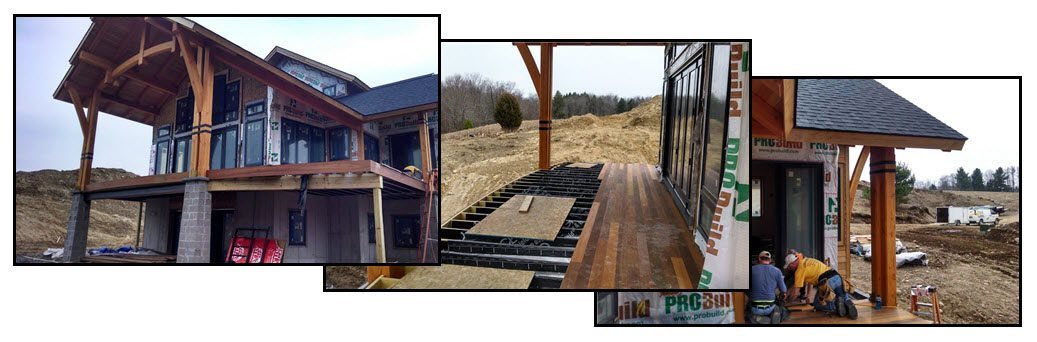
Deck site photos
The 3D Modeling Process:
Once we have all the measurements at hand, we build a 3D CAD model of the project. The 3D CAD model is a central point in our railing design process. It accurately depicts the railing on your site. We can modify the design quickly based our your input. From this 3D model, we can create realistic renderings. We can perform structural analysis and make detailed two-dimensional (2D) shop drawings. The 2D drawings are completely associative to the 3D model, so any design changes made in the model will update in the drawings.
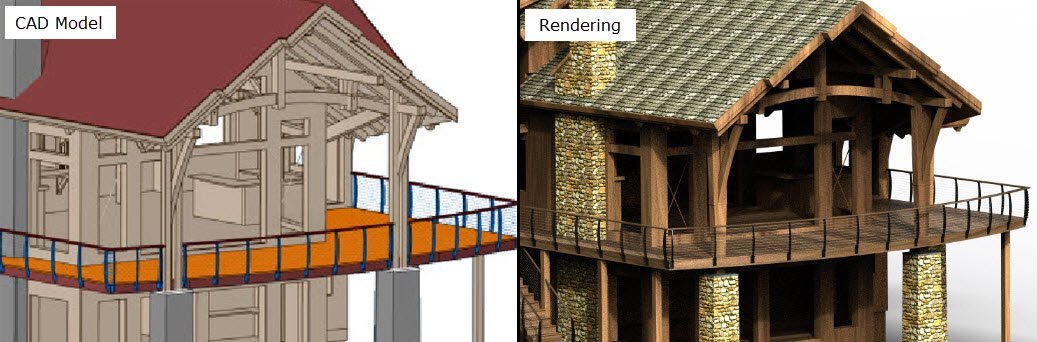
CAD model vs. Computer rendering
Collaboration With The Client:
Once the initial renderings of your railing project are complete, we find it is helpful to do what we call a “Fly Through” or “Screen Share.” This will increase everyone’s understanding of the project’s fine details. We send you an e-mail with a link, you select the link and with one click you will be looking at our computer screen in your web browser. Together, we can fly around the 3D model of your railing or stair project. This is a great opportunity to make design changes which we do right in front of your eyes.
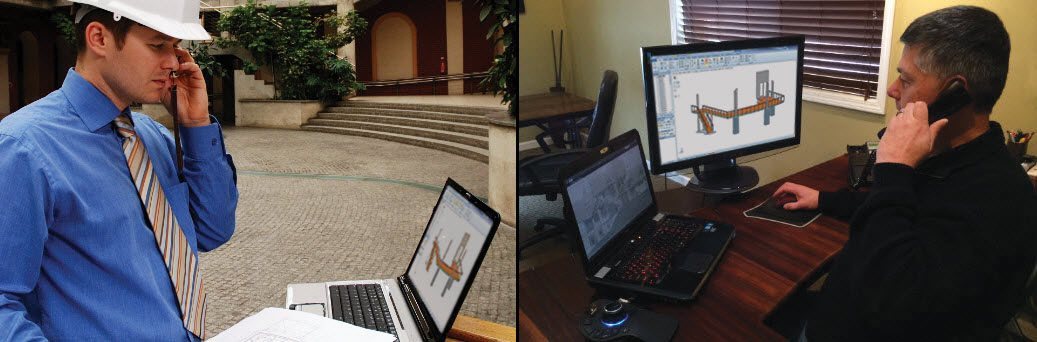
Real-time web-based design reviews
“Fly Through” Example –
Documentation Phase:
Now that all the design details are complete, we need to make shop drawings to document the railing design and to communicate it to the shop so they can build it. These drawings also contain key information to aid in the installation of the railings. We will submit the drawings to you or your contractor for review. If everything looks OK, we collect the fabrication deposit and we are off to the fabrication stage.
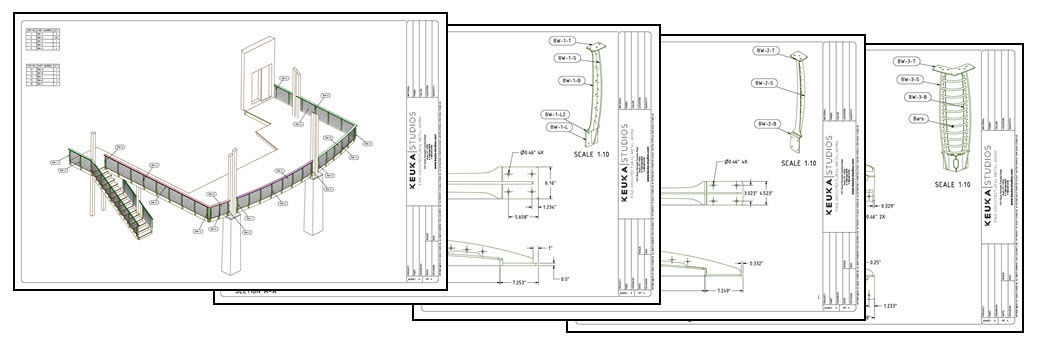
Typical Keuka Drawing set
Follow Up:
Once the railing is completed and shipped, we can have a follow-up “Fly Through” with your installer. This can help them understand how everything goes together to ensure a beautiful result. We think our railing design process is unique and with our skill and techniques, you can be assured that your project will come out better than you imagined.
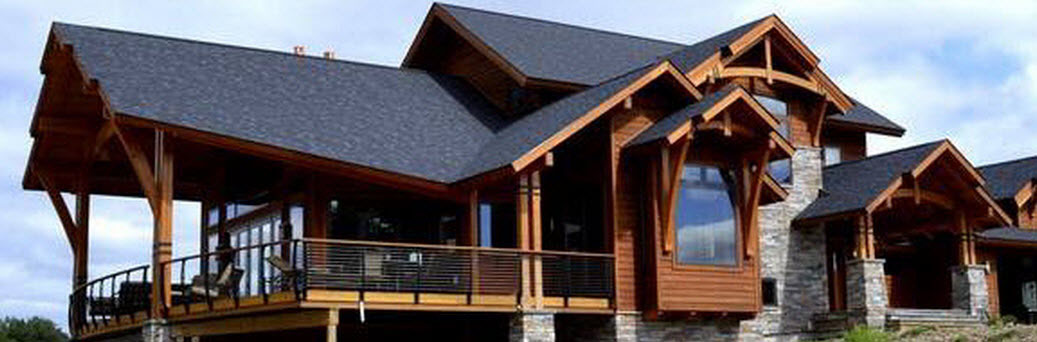
Completed deck railing project.
